In simple 4 easy steps, we can create our Family, and Friends Minecraft Server.
1- Install Docker For your Device
If you using Windows
Download Docker Desktop From Here,Then Double-click Docker Desktop Installer.exe to run the installer.
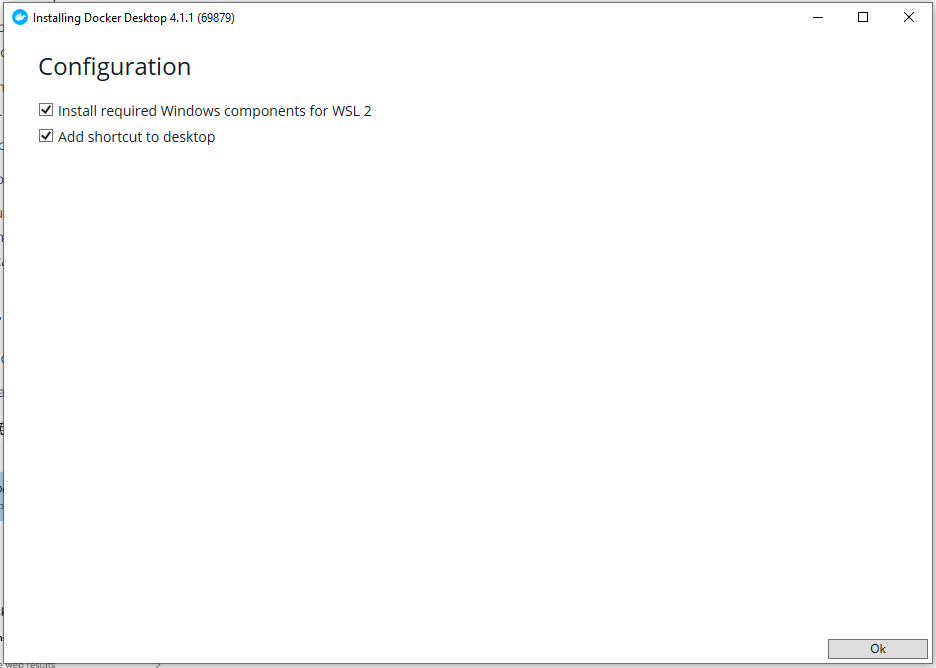
When prompted, ensure the Enable Hyper-V Windows Features or the Install required Windows components for WSL 2 option is selected on the Configuration page.
Follow the instructions on the installation wizard to authorize the installer and proceed with the install.
When the installation is successful the wizard will ask you to Close and Restart to complete the installation process.
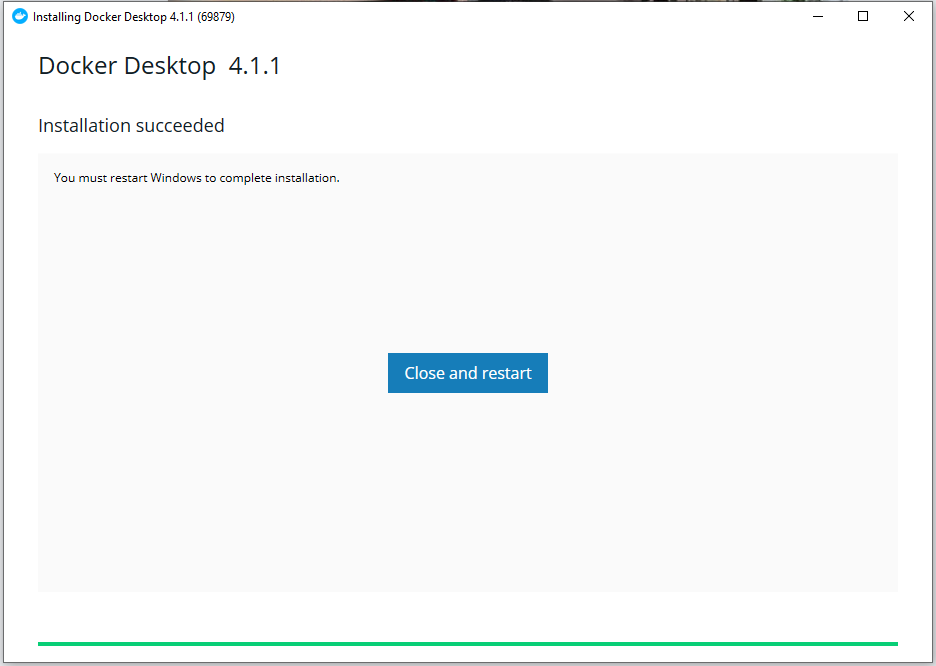
Note: Docker Must Run As Admin If your Windows Account Not listed in the Admin Group
Docker Desktop need to make sure some Windows Features are running
1- Virtualization and Hyper-V Features
2- Windows Subsystem For Linux Feature
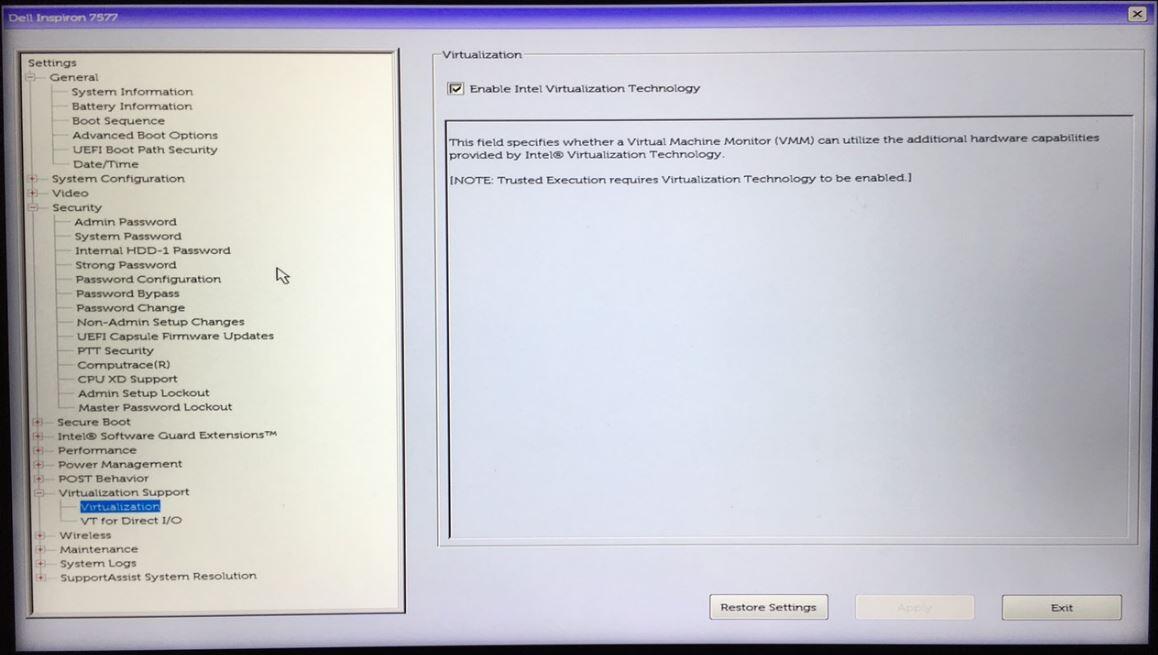
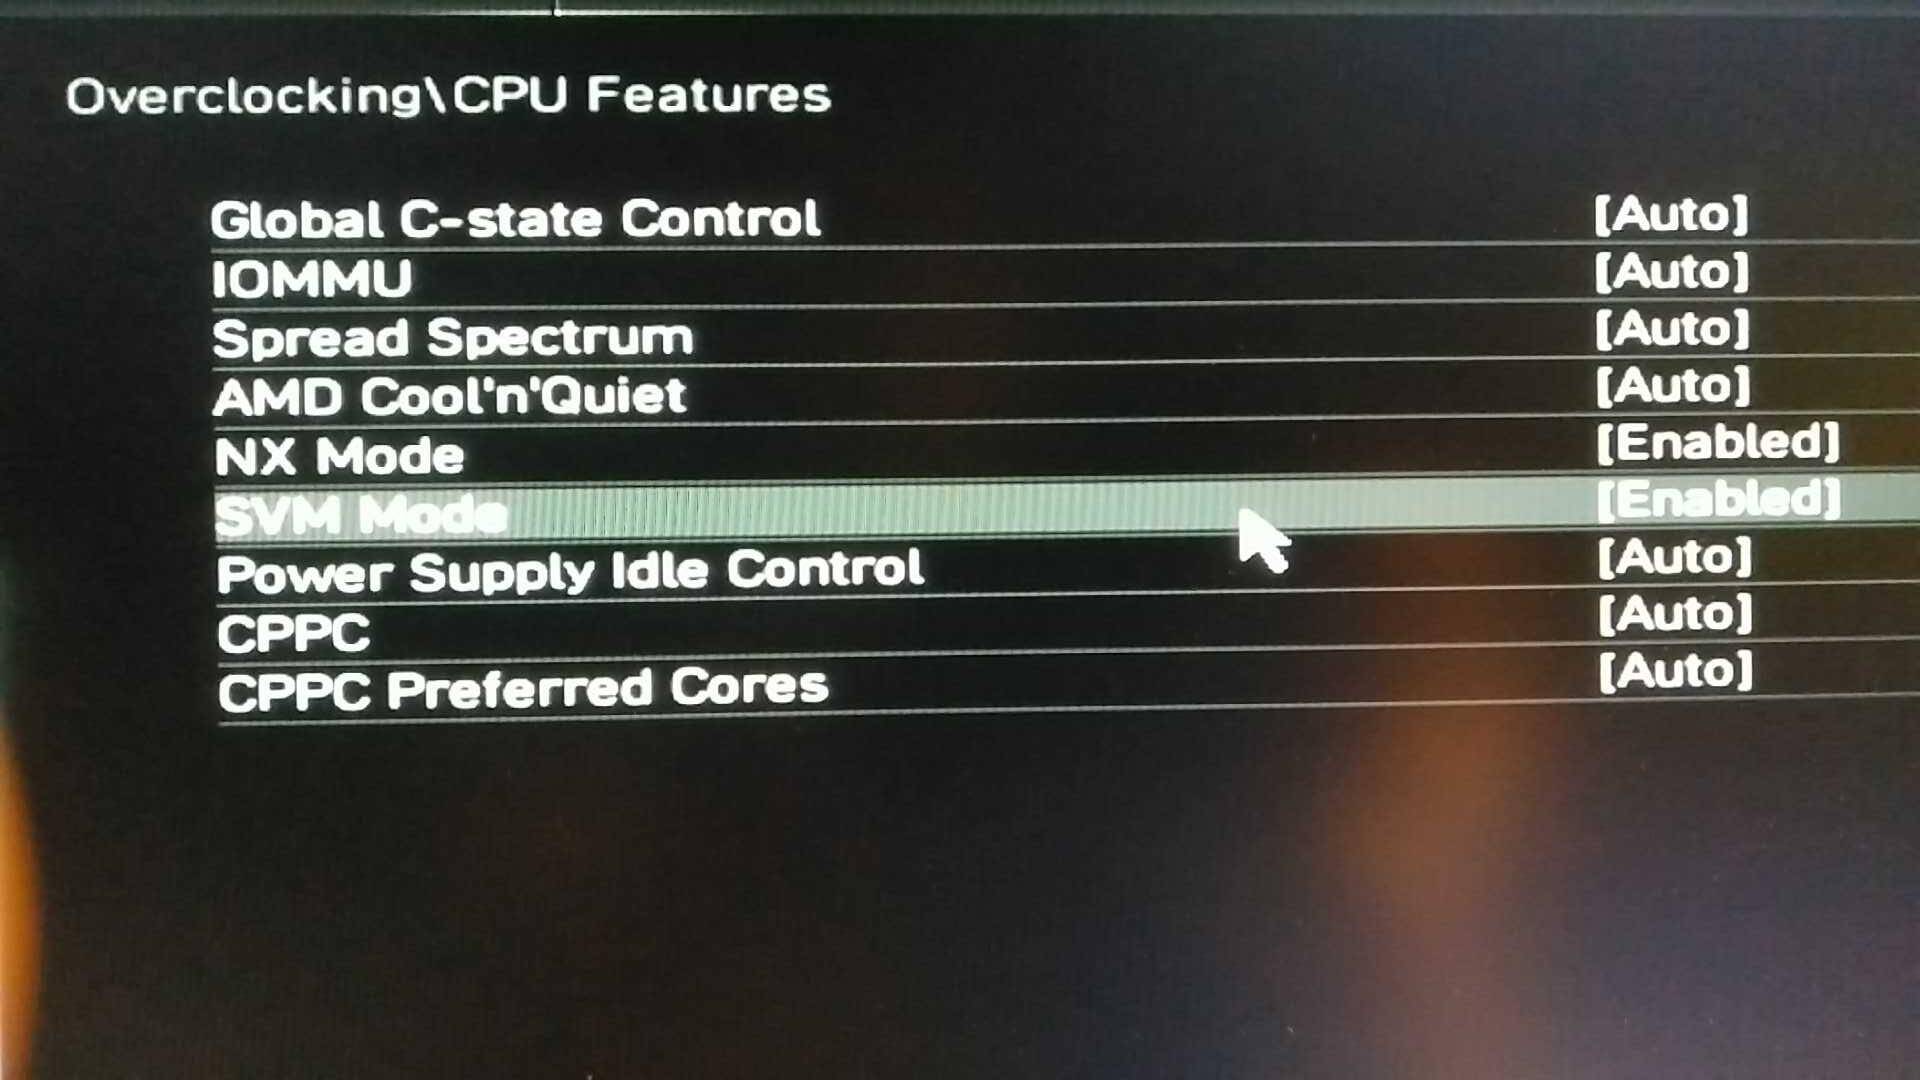
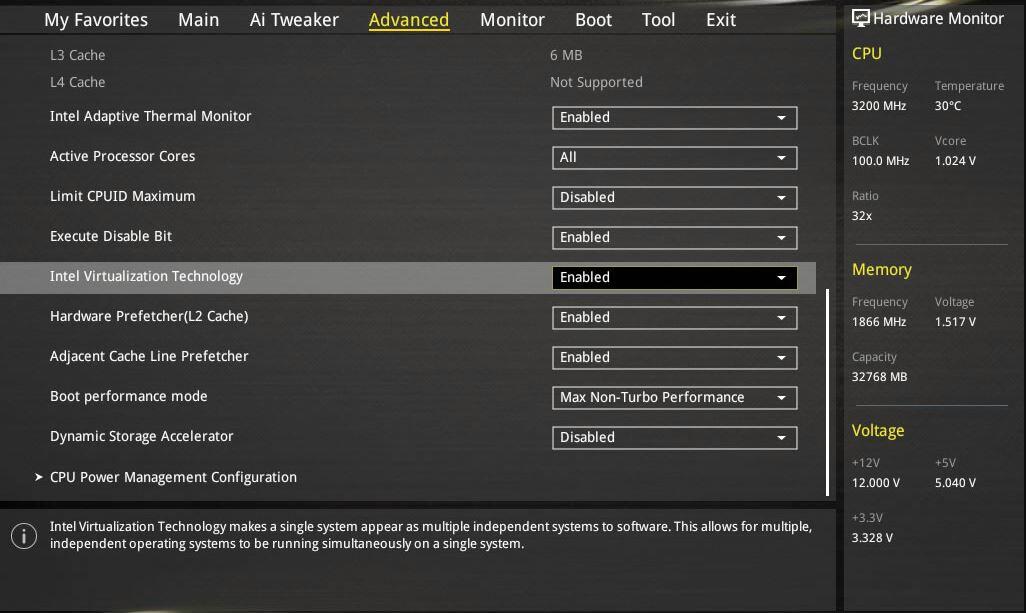
3- Make Sure CPU Virtualization Enabled at your Bios Settings
So Lets Go:
Now Run PowerShell as Administrator by:
Press Win Key + R. so a small window will pop up as shown in the screenshot below.
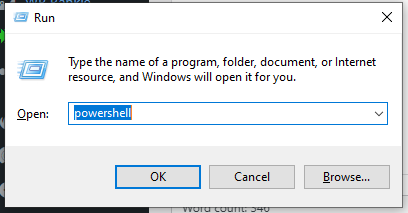
Type in the popup window powershell, then press Ctrl+Shift+Enter or press OK While hold Ctrl+Shift.
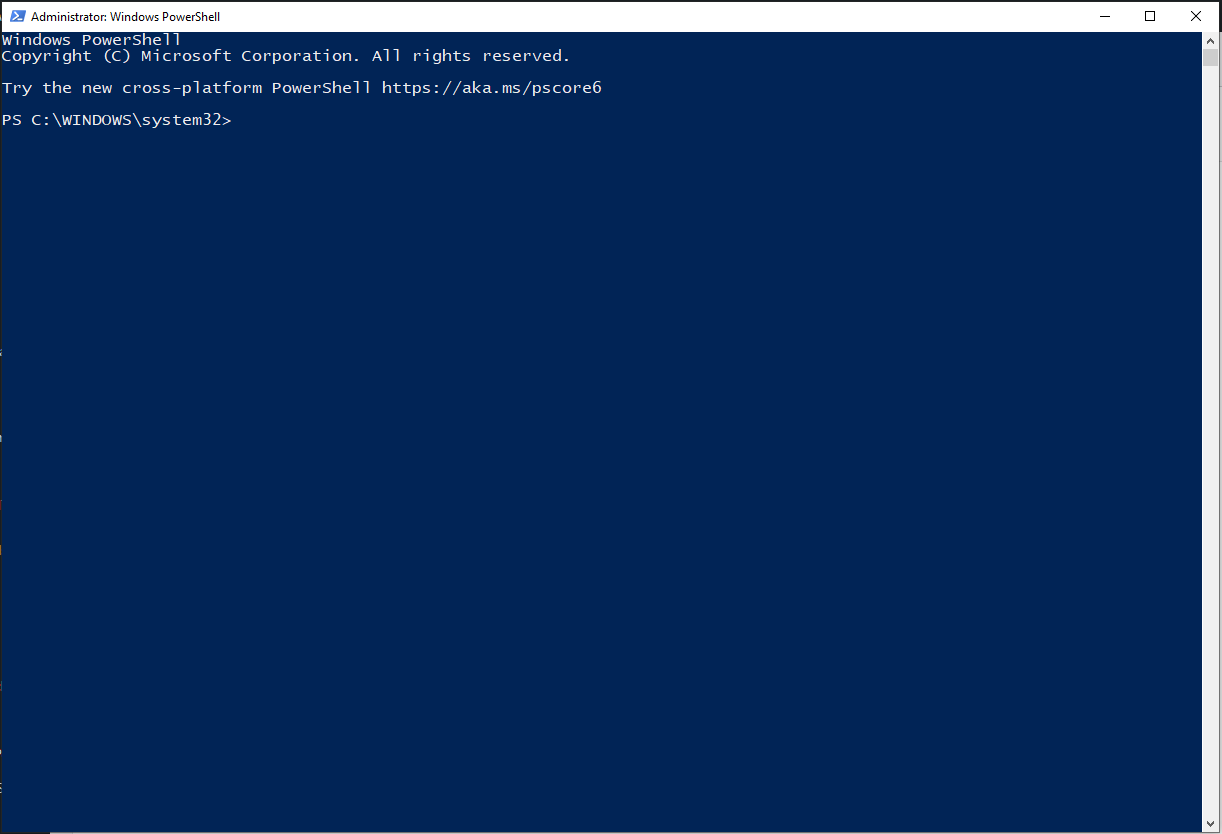
Run In The PowerShell The Following Commands,
1 – Enable the Windows Subsystem for Linux Feature
dism.exe /online /enable-feature /featurename:Microsoft-Windows-Subsystem-Linux /all /norestart

2 – Enable Virtual Machine Platform feature
dism.exe /online /enable-feature /featurename:VirtualMachinePlatform /all /norestart

3- Enable Microsoft Hyper-V Feature
dism.exe /online /enable-feature /featurename:Microsoft-Hyper-V /all /norestart

4- Make Hyper-V AutoStart
bcdedit /set hypervisorlaunchtype auto
5- To Check If CPU Virtualization Feature Enabled
Get-ComputerInfo -property "HyperV*"
The line HyperVRequirementVirtualizationFirmwareEnabled : True shows if virtualization is enabled in BIOS (firmware).
So if it’s not True, You need to enable this feature from you device BIOS/UEFI settings.
See below sample for different BIOS Settings to enable Virtualization features that based on your CPU. So From your Computer Bios/UEFI settings.
If you using Linux
Setup Repository and GPG
# apt-get install \
    apt-transport-https \
    ca-certificates \
    curl \
    gnupg \
    lsb-release
# curl -fsSL https://download.docker.com/linux/ubuntu/gpg | sudo gpg --dearmor -o /usr/share/keyrings/docker-archive-keyring.gpg
# echo \
  "deb [arch=$(dpkg --print-architecture) signed-by=/usr/share/keyrings/docker-archive-keyring.gpg] https://download.docker.com/linux/ubuntu \
  $(lsb_release -cs) stable" | sudo tee /etc/apt/sources.list.d/docker.list > /dev/null
Install Docker Engine
# apt-get update
# apt-get install docker-ce docker-ce-cli containerd.io
If you using Mac OS
Download Docker Desktop Docker.dmg file From Here.
Note: When Downloading Docker.dmg file You will need to select file That suitable to your Mac Chip type, If its Intel Or Apple Silicon

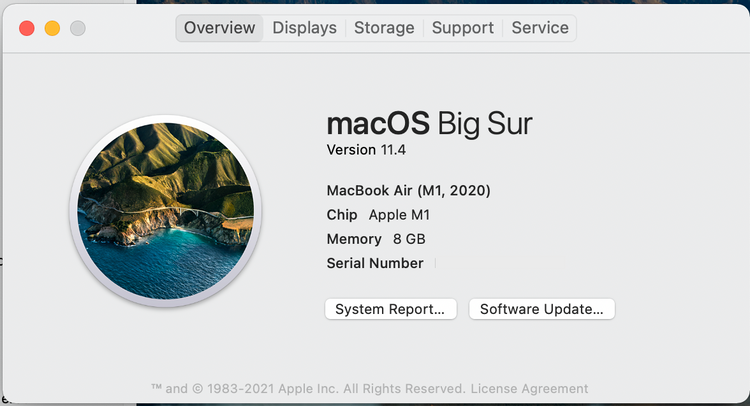
To Check your Chip Type please see:
- From menu bar click the Apple logo.
- Then Click About This Mac.
- Check Chip Type as shown
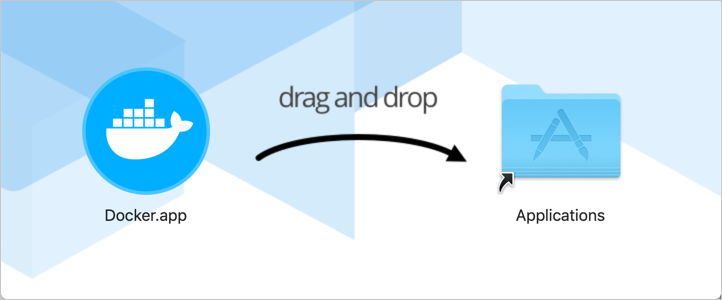
After Downloading Docker.dmg file complete, Double-click it to open the installer, then drag the Docker icon to the Applications folder.
2- Build and run Minecraft Docker Container (The MC Server)
Run the below Command from Terminal or PowerShell in windows to Download your Docker MineCraft Image, And so Build and Run your Container of the Minecraft Server.
docker run -d -p 25565:25565 --name mc itzg/minecraft-server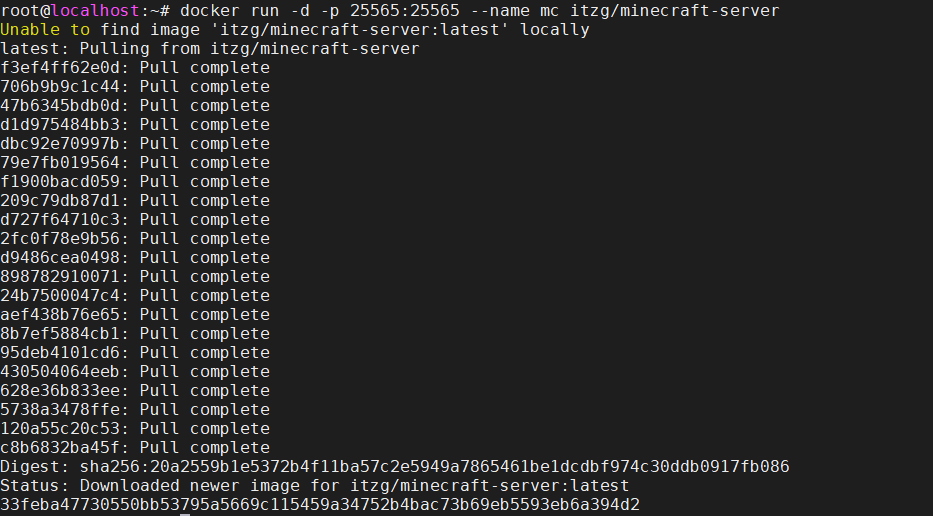
3- Login To Your Minecraft Server with your Family and Friends
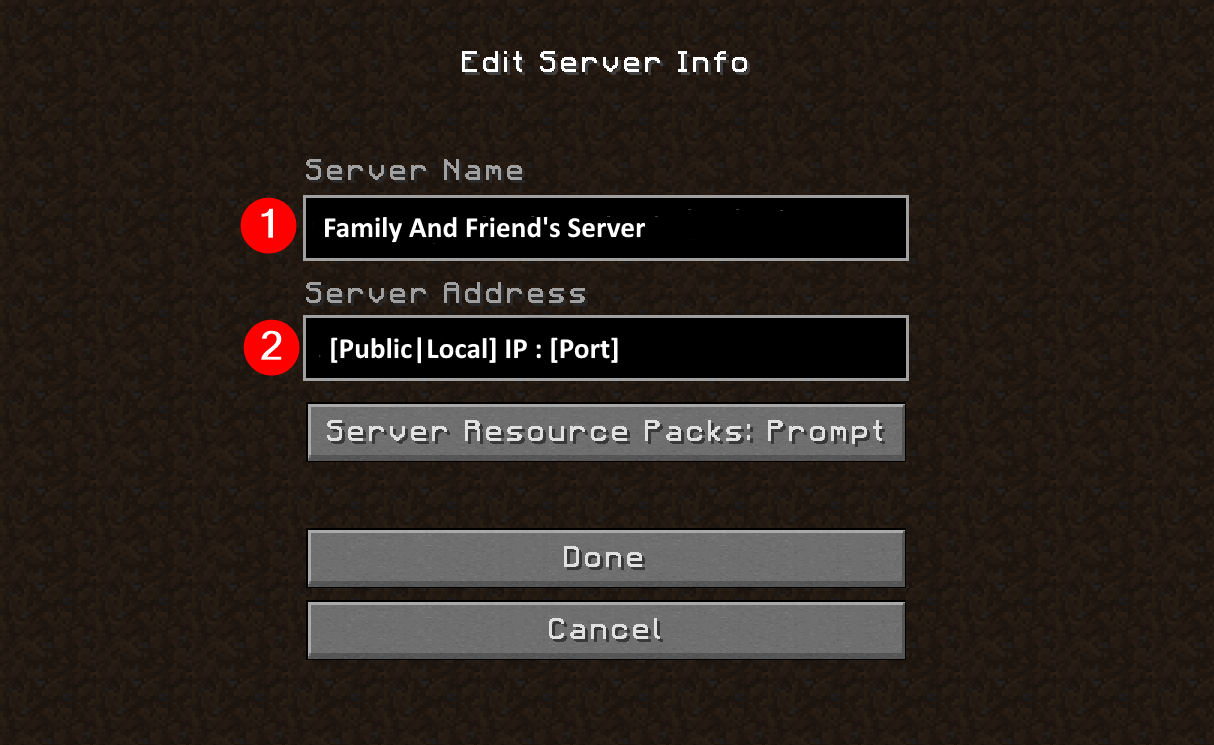
To login your Minecraft Server you will need to gives your family members, and friends your computer device IP address and Port as shown.
The Port used is 25565 as we configure while building Minecraft container.
But for your computer device IP Address:
In scenario of your Family and Friends not same place and of course not online same WIFI/Network connection while playing => so will use your computer device Public IP Address.
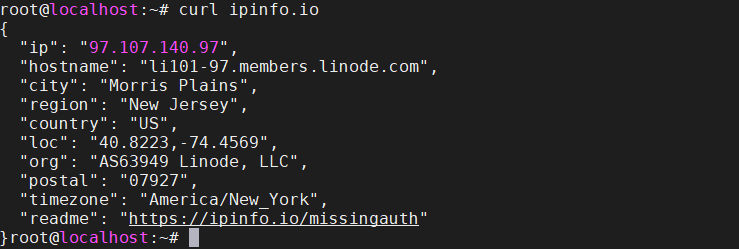
To get your computer device Public IP address => browse the website ip-api.org and will have your public IP, or use Terminal command
# curl ipinfo.io
And If Firewall is Enabled, will need to open the firewall port 25565 which we used as server port.
To open a firewall port 22565 In windows run the command in the PowerShell
netsh advfirewall firewall add rule name="MineCraft Server 22565" dir=in action=allow protocol=TCP localport=22565
For ubuntu Linux
# ufw allow 22565/tcp
Note: by default macOS firewall is disabled, but you can check by go to System Preferences > Security & Privacy > Firewall: On/Off
For MacOS if Firewall / Packet Filter is active
# ipfw add 31010 allow tcp from any to any dst-port 22565
Or Edit the file nano /etc/pf.conf and add you custom rule (the following line) at the end of the file
pass in inet proto tcp from any to any port 22565 no state
reload the firewall config by run the command # pfctl -f /etc/pf.conf then reload # pfctl -E
If your computer are behind a router, you will use your computer device public IP address and you many need to configure a Port Forwarding in you router, and so mapping any request access to your router public IP address with port 22565/tcp, to go to your computer device local IP address with same port.
If your family and friends on same local network so you will use local IP address of your computer and do the Open firewall port step only.
4- Enjoy All;

